C is a very popular programming language and Visual Studio (VS) Code a highly capable integrated development environment (IDE). In this tutorial I’ll cover how to get C setup in VS Code so you can run fast C programs on your laptop or PC. I’ll only be covering Windows in this tutorial, as that’s the only platform I’m able to try these steps on.
Installing VS Code
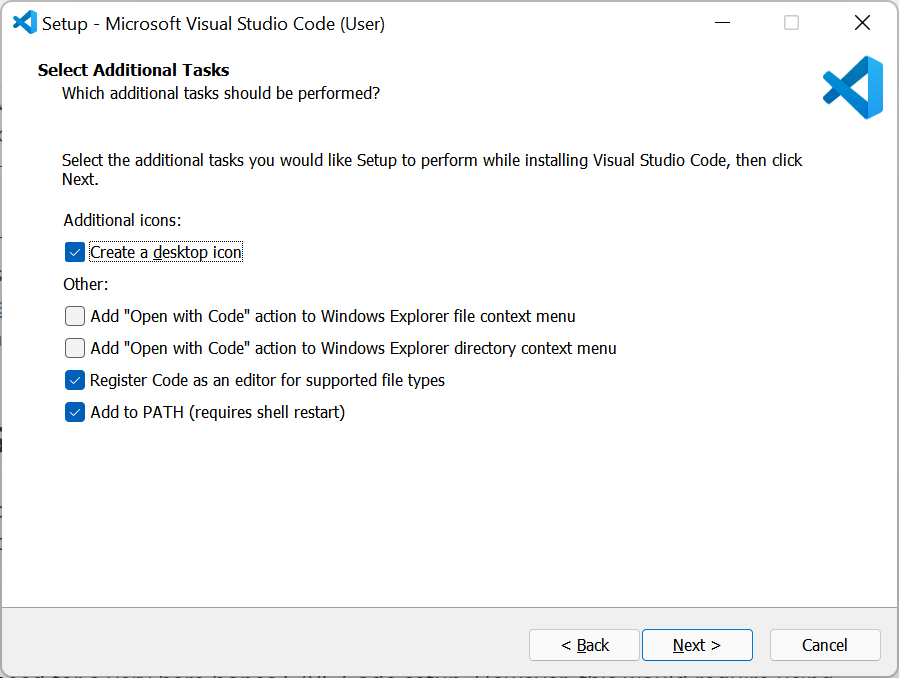
The first step is to get VS Code itself installed if you don’t have it already. You can download the installer for the latest version (1.63.2 at the time of writing) from code.visualstudio.com – it’s a 78 MB download. VS Code has an updater built in so once it’s installed you won’t need to download a new installer to update it. You can use the default options, just making sure that the option to Add to PATH is ticked, as well as the option to Create a desktop icon if you want one.
Installing a compiler (MSYS2)
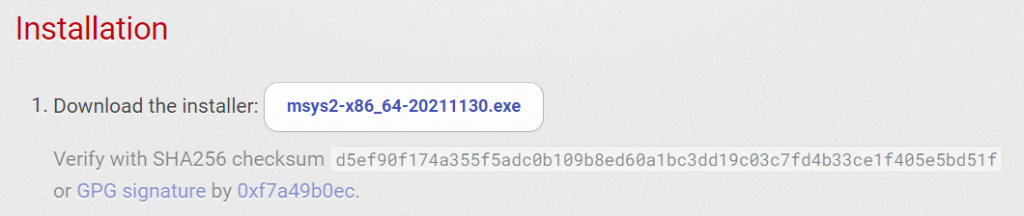
C is a compiled language, so needs a compiler to convert human-readable C code into machine code that can be run by your PC. A recommended compiler package is MSYS2, downloadable from msys2.org. Scroll down the page slightly to find the installer link under the Installation heading. The latest version as of writing, msys2-x86-64-20211130, is a 98.3 MB download.
Use the default options for the install and leave the option to Run MSYS2 64-bit now ticked on the final page so an MSYS2 terminal window opens when the installer closes. This is because the installer doesn’t actually install everything we need and we’ll need to run a couple of commands to finish the setup. These commands can be found further down the installation page from where we downloaded the installer, but I’m repeating them here so the full set of instructions is in one place.
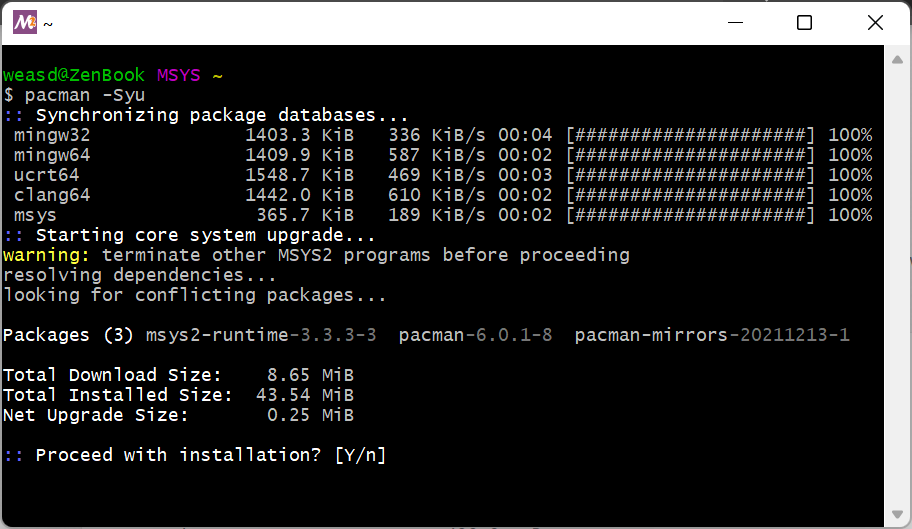
Firstly, run pacman -Syu. This will upgrade MSYS2’s packages. After a few seconds of synchronising databases and starting the core upgrade, you will be prompted for confirmation to continue. Press y then enter to proceed. After a few seconds of installing the packages, confirm again and the terminal will close.
Open up a new MSYS2 terminal by either going to C:\msys64 and running msys2.exe, or by pressing the Windows key and typing msys2 to run the MSYS2 app. Run pacman -Su (note it’s -Su this time rather than -Syu previously). You’ll need to do another confirmation to proceed and the command will complete after about a minute.
At this point, the compiler itself, GCC (GNU Compiler Collection), isn’t actually installed – this is the final step for MSYS2. Run pacman -S --needed base-devel mingw-w64-x86_64-toolchain. This will install GCC, as well as the debugger (GDB) and various other tools. When prompted to enter a selection, press enter twice to accept the default of all packages, then press y and enter to confirm the 190 MB download and installation of 95 packages. The installation will take around four minutes depending on your internet and PC speed.
We have now fully setup MSYS2. You can check the installation by looking in the C:\msys64\mingw64\bin folder – if the installation was successful there should be quite a few files in this folder, including gcc.exe, the compiler executable. You can also run gcc --version in command prompt to confirm GCC has installed. It’s worth taking a note of the above directory – we’ll be using it later to finish setting up VS Code.
Setting up extensions
At this point, you have everything you need for a very bare bones C/VS Code setup. However, this would require using the terminal to compile and run your code, rather than a run button in VS Code’s graphical user interface (GUI). You also wouldn’t be able to use VS Code’s IntelliSense feature to suggest code elements or to check your code for errors. The following extensions give a much easier user experience, but if you have already installed VS Code on another computer and are logged in with your Microsoft account, they will automatically install on other machines when VS Code first opens.
To install the extensions, open VS Code then either press Ctrl + Shift + X or click the icon on the left that looks like three squares with a fourth next to them. This will open the extensions pane.

In the box at the top, first search for C/C++. The extension just called C/C++ is the one you want, but the C/C++ Themes and Extension Pack extensions are optional extras. Click the blue install button just below the extension name. The C/C++ extension adds IntelliSense and debugging.
Next, search for Code Runner. Installing this will add a run button to the top right of the VS Code window, allowing you to run C files without manually compiling first.
Test the installation
Finally, let’s create and run a simple program to test the installation. On the left hand side of VS Code, at the top of the panel with the extensions icon, click the explorer icon. Right click in the empty space that appears, select New File and call it Hello_world.c. Then copy in the below code:
#include <stdio.h>
int main(){
    printf("Hello, World!");
    return 0;
}
Click the triangular Run button in the top right of VS Code. This will compile the code into an executable file (.exe) then run the executable, printing “Hello, World!” in the output window. If this has worked, you’ve successfully setup C in VS Code. If you have any problems, leave a comment below and I’ll try to help.
For more tutorials and programming experiments, you can subscribe to my newsletter.